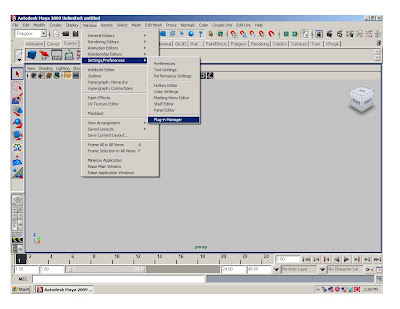
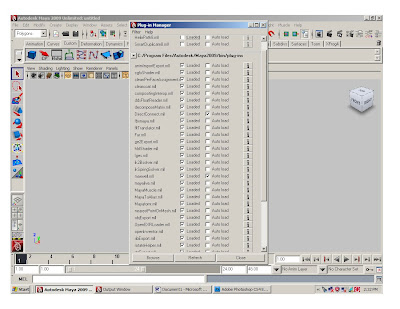
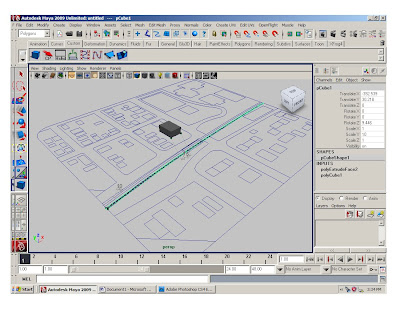
Go to window> settings and preferences> plug-in manager
Load DirectConnect.mll and everything else
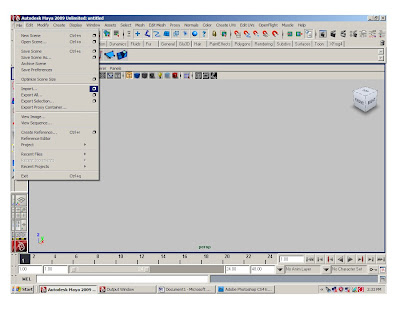
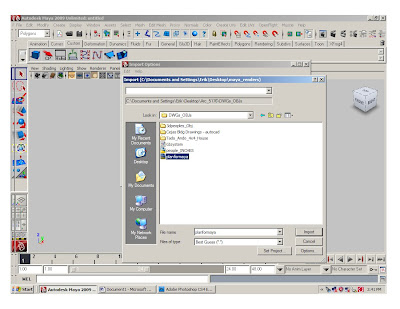
Go to file> import> and click on the box
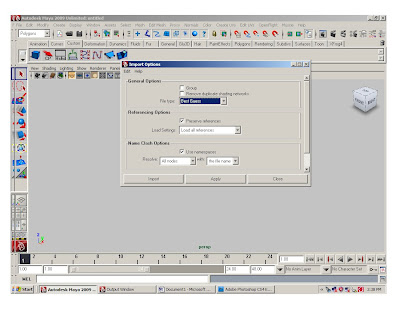
In the import options window, under general options, file type select “best guess”
Click “import” and open the cleaned “plan for maya” AutoCad file
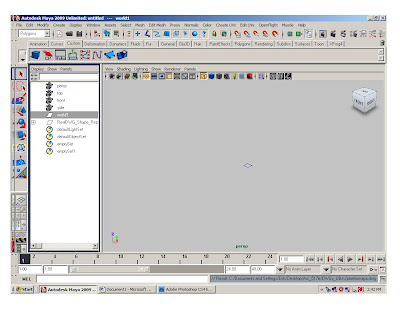
In the options window delete the “world” group.
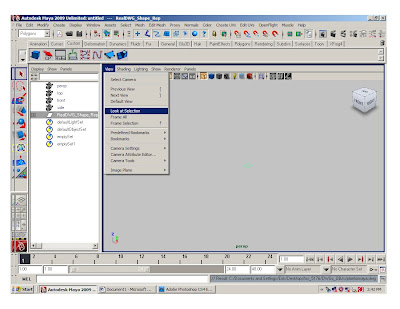
Select the “RealDWG” group; push the letter ‘f’ button to center the dwg in the perspective window.
Center Pivot
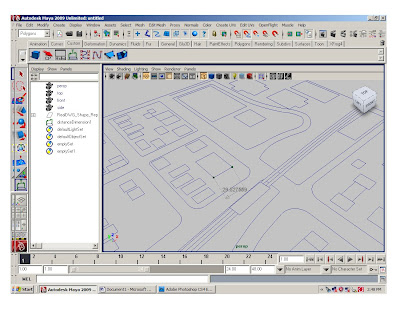
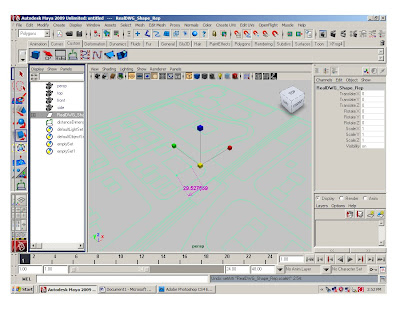
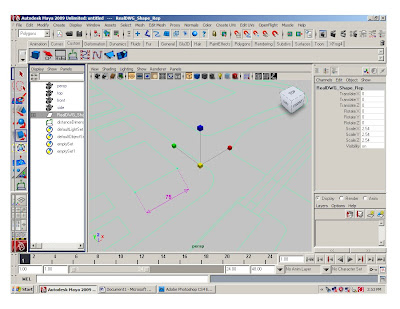
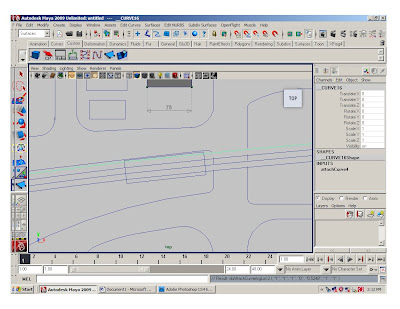
Select the snap to curve, and measure the length of one of the buildings.
If the dwg comes in with the correct scale= good. If it comes in the wrong scale, scale the dwg out by 2.54 (xyz)in the channel editor.
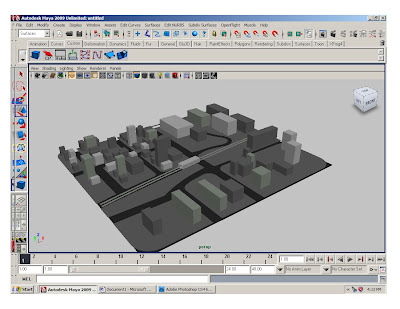
The Buildings and Blocks
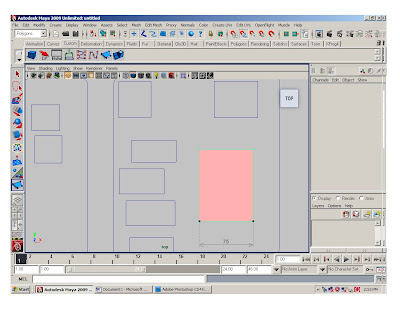
Go to the top view and using the create polygon tool, with the snap to curve on, trace all buildings and blocks
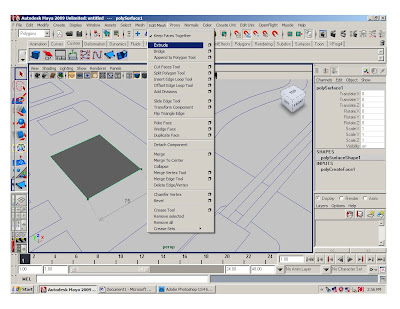
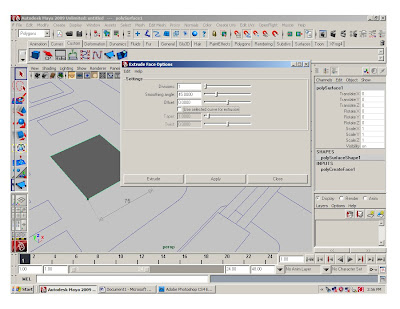
Go to the perspective window, and select a flat polygon, goto > edit mesh, make sure “keep faces together” is engaged, and click on the box next to extrude
In the extrude options box, Divisions= 1, smoothing angle= 45, and Offset= 0
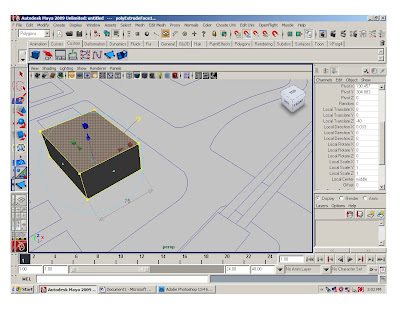
Click extrude, and determine the height of the buildings and blocks in the channel editor, “Local Translate Z” (this maybe a negative number if your arrows are in the wrong direction).
The Elevated Train
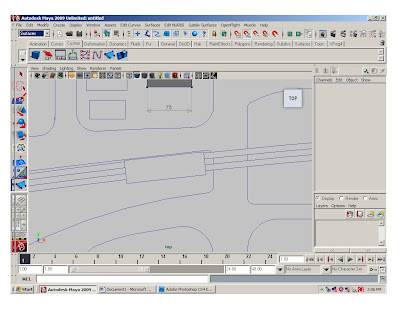
Go to the top view; go to the surface menu (left side of the screen)
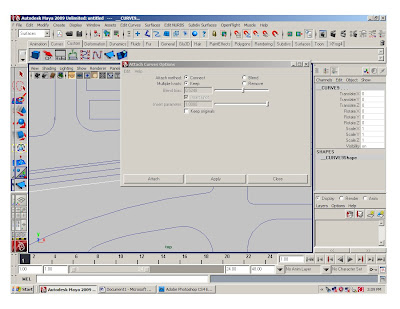
Select two curves to attach, go to edit curves> attach curves and click on the box, in the attach curve options window, attach method= attach, and multiple knots= keep, click attach. Repeat for all rail curves by selecting the curves to attach and pressing the letter “g” button (this only work if you do nothing else in between).
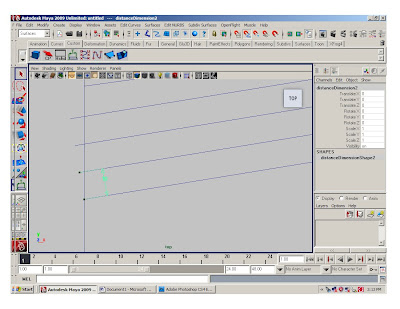
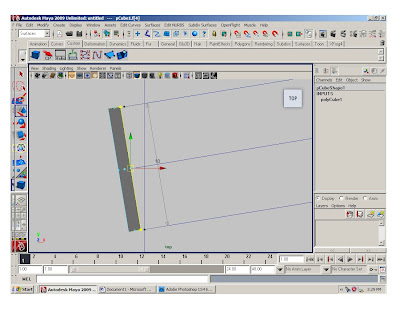
Measure the distance of the rails
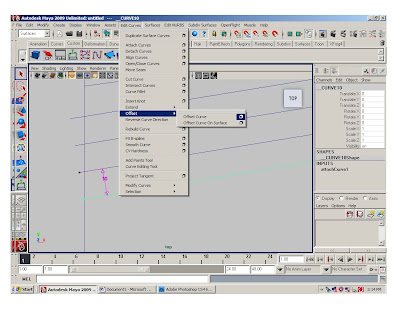
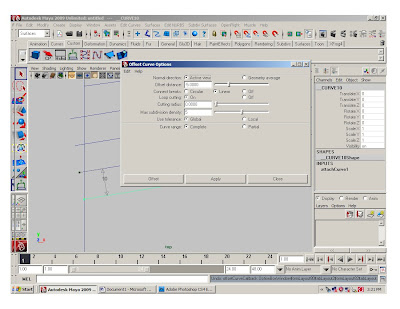
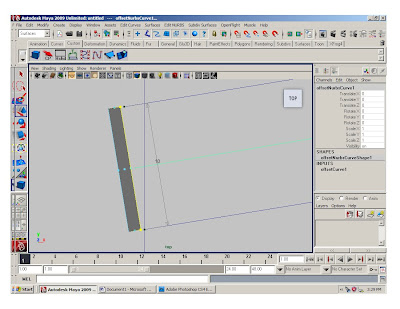
Offset the curve ½ the measure distance, go to edit curve> offset > offset curve and click on the box. Active view should be selected, and n the offset curve distance box type in the offset distance.
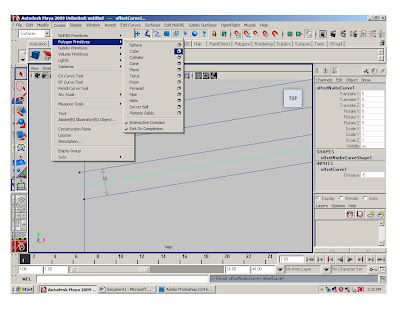
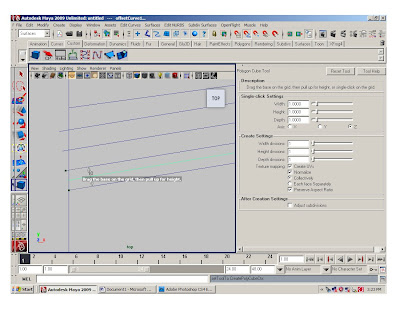
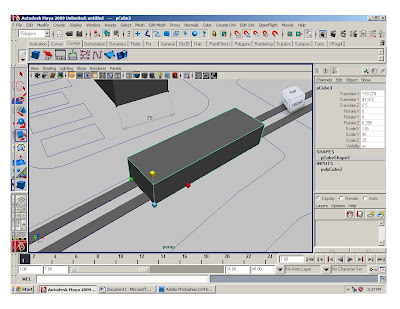
With your snap to curve on, create a new polygon cube (make sure you reset your one click units)
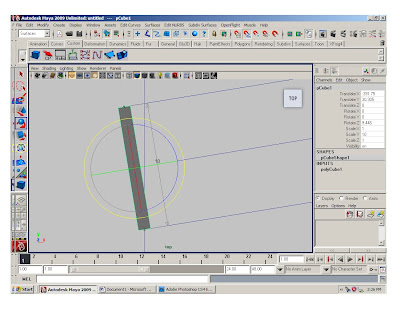
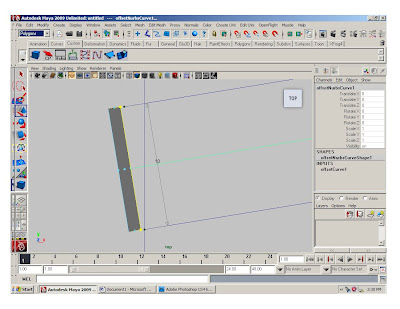
Scale the cube the width of the rail, and rotate it so it’s parallel to the middle curve.
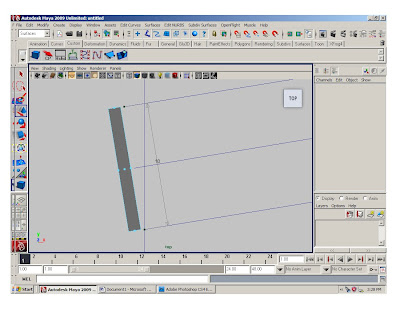
Move the cube off the curve a couple of inches, right click on the cube and select face option.
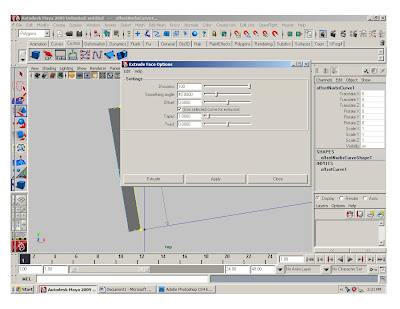
Select the face closest to the curve, and hold down shift and select the curve, go to the polygon menu
Go to edit mesh> extrude> click on the box, set the divisions to 100, click on use selected curve for extrusion, taper =1 and twist=0.
Repeat steps for the other rail.
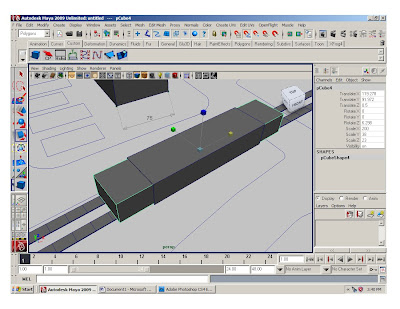
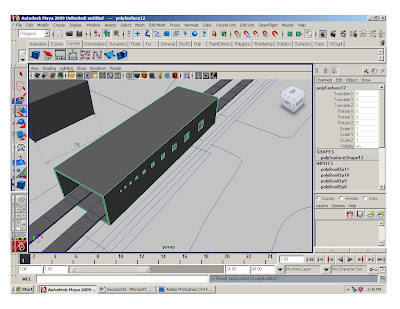
For the train station
Scale out a cube the size of the plan
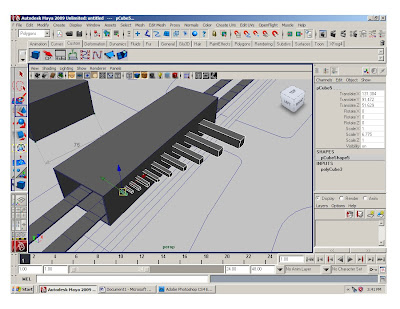
Center Pivot and duplicate the cube, scale in on z and y and out on x
Boolean the cube, and repeat the Boolean with different cubes to create other holes
No comments:
Post a Comment